Support & FAQ
Setting Up a New Case
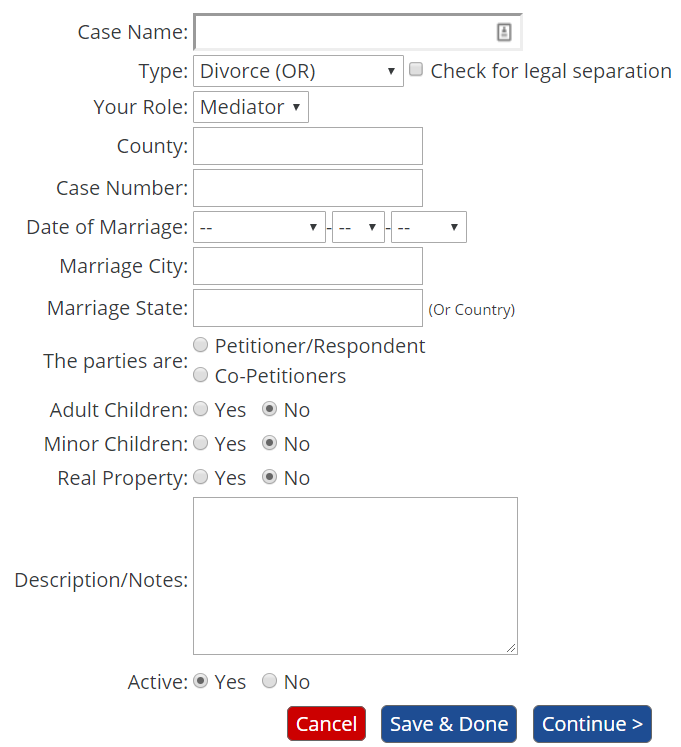
Click the "New Case" link along the top banner, and complete the initial "Start Your New Case" fields.
Then click the "Continue" button to complete additional data entry based on your selections. Click "Save" when done.
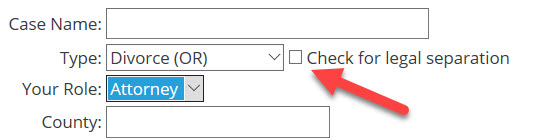
For Oregon cases, create a new Divorce case and check the "Legal Separation" box. Washington legal separations are handled using the mandatory forms.
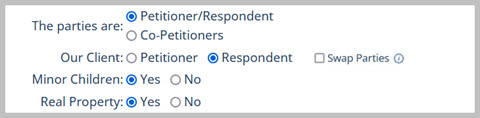
Usually you know whether you are representing the Petitioner or Respondent at the outset of case. However, sometimes you start the case thinking you'll represent the Petitioner only to find out they've been served and now your client is the Repsondent.
MyPleadings allows you to easily "swap" which party you represent without having to re-enter the information all over again. You can swap parties by editing the case and checking the "Swap Parties" checkbox to the right of "Our Client" on the Case Info screen and then clicking Save & Done. You will be asked to confirm that you want to swap parties.
This feature is also useful if your client is Petitioner in one case but Respondent in a related matter or vice versa. In that case, you can copy the case and then use the Swap Parties feature. This will quickly produce the desired result without having to reenter all of your case information in a second case.
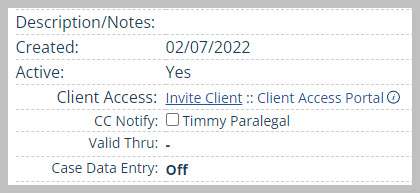
MyPleadings gives you the ability for your clients to enter their own basic statistical information. The first step in this process is to create a new case by clicking 'New Case' and giving the case a name. At any point after you've named the case, you can click the 'Invite Client' link toward the bottom of your Case Info screen.
MyPleadings provides two ways to invite your client:
Client Data Entry links are valid for 10 days by default, although you can change this duration by clicking the Client Access Portal link. Your client will be asked to create a password when you first share the link with them. You can renew the link for your client at any time by repeating the above process. You can suspend the link on the Client Access Portal page.
Note: Client Data Entry does not work for Washington's Minor Guardianship casetype, so you will not see this option for these cases.
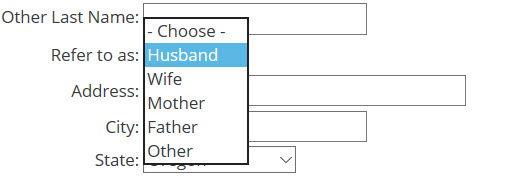
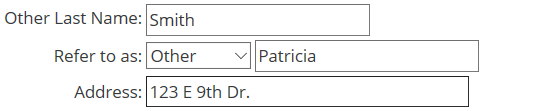
"Refer to as" is how MyPleadings refers to the parties throughout the system and in the pleadings that you generate. Husband, Wife, Mother and Father are all designations that can be assigned. You can select 'Other' if you want to use a different identifier such as first names. When you select 'Other' a text field will appear and you can type in the identifier of your choice.
You can use "Other" to select a different identifier:
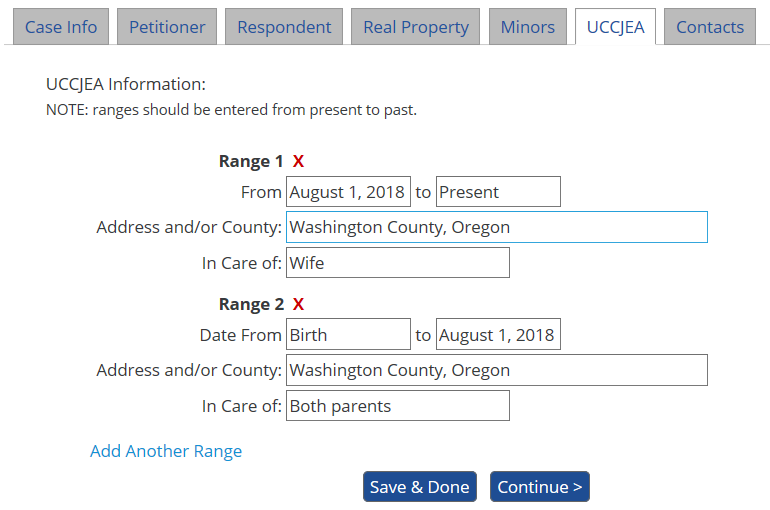
UCCJEA inputs consist of three parts:
Dates: Enter the 'Date from' and 'Date to'. 'Date from' will automatically populate as 'Date to' if you add a second date range. Note that the date ranges should be entered from most recent to oldest.
County/Address: Enter the county or address where the children resided during this particular date range.
Caretakers: Identify who a child's caretakers were during a particular date range.
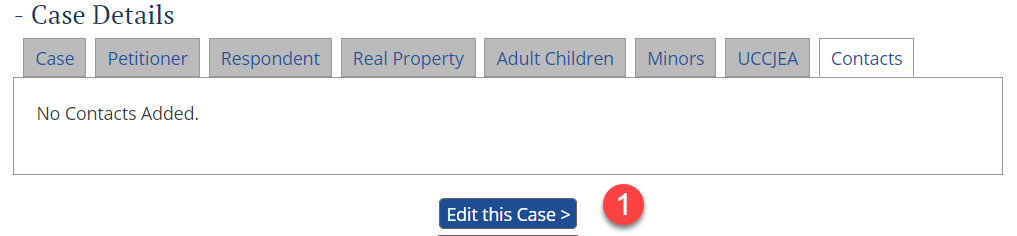
You can add opposing counsel - or any other non-party contact - to your case by selecting the 'Contacts' tab and clicking 'Edit this Case'.
Next, click "Add a Contact to this Case'.
You will then have the option to select an existing Contact or to add a new Contact to your account. Once you have added a contact once, you can add them to any case in the future without having to re-enter all of their information.
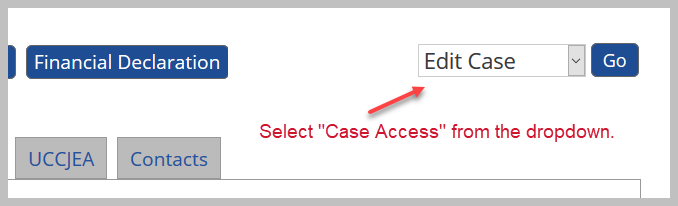
You can change who "owns" a case by selecting "Case Access" from the Edit Case dropdown menu. Note that this option only appears if you have multiple users in the same firm. You must have Case Access permissions in order to be able to change who owns the case. If you're not sure what that is, click here to read the FAQ about user permissions.
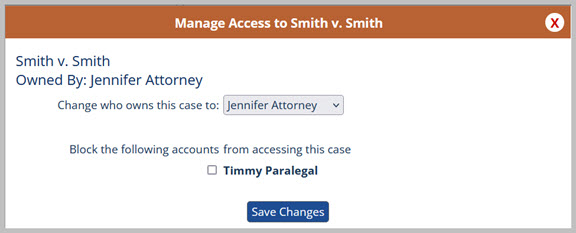
Select who you want to transfer ownership of the case to and click Save Changes.
|